
Reporting Requirements for Annual Financial Reports of State Agencies and Universities
Pass-Through Activity
Instructions for the SEFA Web Application
Step 5 – Viewing/Editing/Deleting an Existing Record
Viewing Existing Records
- Access the Main Menu.
- Click Main Record List and leave the
ALNandRECORD Nofields blank to view all entered data.
–OR–
Enter anALNorRECORD Noand click Main Record List to view a limited number of records.Note: If you want to print the list of records, use the Print option in your web browser’s menu bar. Some browsers/printers may require you to print this screen in “landscape” orientation in order to print the whole screen. As an alternative, return to Main Menu and from Reports select Main Record List to print complete listing of reported SEFA records.
Editing an Existing Record
- Access the Main Menu.
- Click Main Record List.
- Select the record you wish to edit.
- Click Change Selected Record.
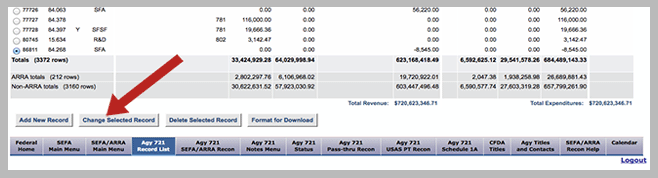
- Edit the data as necessary and re-submit the data by clicking Save. The
RECORD IDnumber remains the same. If after saving, an error message displays, make necessary corrections to the record and resave the entry. If no errors exist, the message Record saved displays indicating your edit was successful.
Deleting an Existing Record
- Access the Main Menu.
- Click Main Record List.
- Select a record you wish to delete.
- Click Delete Selected Record.
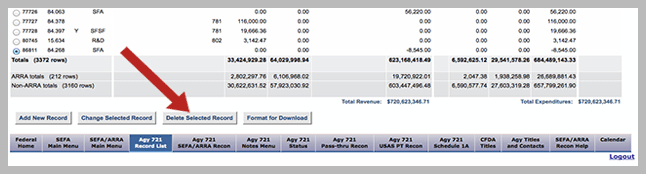
The message ***Record deleted*** displays at the top of the screen indicating the delete was successful. If record was deleted in error, the deleted record will need to be re-entered and saved as a new record. A new record number will be assigned (refer to Step 4 – Add a New Record for this Agency on how to add a new record).
Note: If documentation is necessary, use the Print option in your web browser’s menu bar to print the record prior to deleting it. Records deleted from the SEFA web application cannot be recovered.